
Installation of hydraulic hammers or hydraulic breakers on an excavator are a very important task that require careful preparation such as alignment with excavators’ pressures, weight, and oil flow compactivity, correct alignment of spare part components, and attention to safety. Whether you are installing Beilite hydraulic breakers or other related rock breakers, the replacement of hydraulic hammers spare parts, or setting up nitrogen gas parts like the back head and front head, chisels, piston, and valves etc. The understanding of installation process helps ensure top performance and long service life of the excavators’ attachments.
A hydraulic hammer also called a hydraulic breaker or hydraulic hammer for excavators. This transforms hydraulic energy into powerful impact force for breaking rock, concrete, demolish buildings, bridges, and roads or other tough materials. Correct installation sets the foundation for efficient operation.
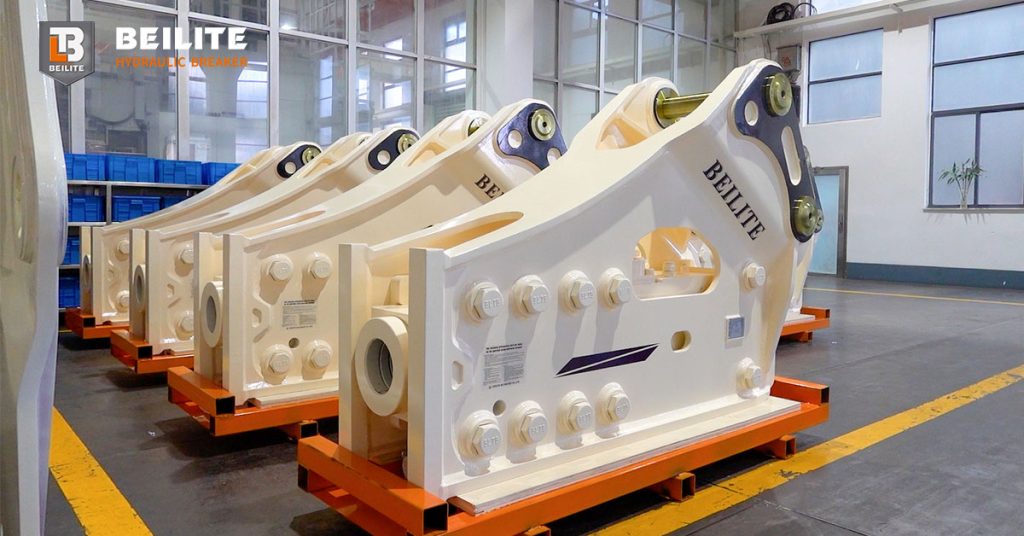
We recommend to read this blog: Beilite Hydraulic Breaker Installation
Preparation of the Excavator and Working Area
Before installation begins, park the excavator on level ground with the engine off and hydraulic pressure fully released. Waiting for the hydraulic oil to cool to ambient temperature protects hoses and seals from damage.
Security Protection Equipment
Safety gear such as gloves, eye protection, and secure footwear should be used. If lifting heavy hydraulic breakers or components, use a reliable hoist or help from more than one person.
Inspect Components of the Hydraulic Hammers Before Assembly
Inspect all breakdown components before installation. Key parts of a hydraulic hammer include the back head (nitrogen chamber), front head, back heat, piston, bushings, chisel, control valve, and hydraulic hoses.
The back head is where nitrogen gas is charged, creating cushion pressure for return strokes and impact stability. The front head guides the tool and absorbs recoil forces.
Check that all nut and bolt connections, hose fittings, pins, and retaining hardware are in good condition, free of leaks or abnormal wear. Properly reinstalling these components prevents future breakdowns and oil leaks.
Position the Hydraulic Hammer
Align the hydraulic hammer with the excavator’s boom and arm using the hoist. Ensure the chisel tool points downward and that the breaker sits level. This helps avoid contamination entering sensitive parts.
Insert the arm pin first, followed by the attachment bracket pin, making sure both pins are lubricated and seated fully. Never force pins—proper alignment ensures smooth movement of the hammer once mounted.
Connect Hydraulic Hoses
With the rock breaker secured, attach the hydraulic hoses to the excavator’s auxiliary circuit. The hydraulic hammer’s “P” port connects to the excavator’s high-pressure oil line, and the “A” port connects to the return or low-pressure line.
Protect the ports and hose ends from dirt and debris during connection. Always match the correct hoses and fittings per the manufacturer’s instructions to maintain proper oil flow and pressure.
Check Nitrogen Gas Pressure
Most hydraulic breakers use nitrogen gas parts to balance pressure and absorb energy. Before first use, verify the nitrogen pressure in the back head with a calibrated gauge. Pressure must match the specifications for your particular model.
Correct nitrogen charge ensures that the accumulator functions properly, enhancing impact force and protecting seals and internal components from premature wear.
Adjustments and Testing of the Hydraulic Breakers
After making all connections, double-check all bolts, pins, and hoses. Start the excavator and engage the breaker at low power to make sure the installation is correct and that no hydraulic oil is leaking.
Operate the breaker briefly while observing both the carrier and the hammer. Any abnormal vibration, irregular noise, or oil temperature exceeding recommended levels should prompt an immediate shutdown for inspection.
Regular Maintenance After Installation
Proper installation is only the beginning. Regular lubrication, monitoring of nitrogen gas pressure, and periodic inspection of front head and back head components will keep your breaker reliable and long-lasting. After installation every 2 hours working time greasing recommended, then 5 hours 10 hours after first usage.
Spare parts replacements, such as worn bushings, seals, and retaining pins, should be performed on schedule to avoid more extensive repairs. Good maintenance practices help maintain optimal performance of your hydraulic hammer installation over time.
We recommend to read this blog for hydraulic breakers maintenance tips
FAQs About Hydraulic Hammer Installation
1. How often should nitrogen gas be checked after installation?
Nitrogen gas pressure should be checked periodically, especially after the initial installation and every few hundred operating hours, to ensure stable performance.
2. What hydraulic oil should be used when installing a breaker?
Use the excavator’s recommended anti-wear hydraulic oil rated for your climate and working conditions, ensuring correct viscosity and cleanliness standards.
3. Can I install a hydraulic breaker without a hoist?
It is not recommended. Mounting and aligning heavy hydraulic breakers typically require a hoist or multiple assistants to ensure safe and precise installation.
Beilite Official Contacts
Beilite Saudi Arabia Contacts
Beilite Official Contacts
Beilite Machinery Co., Ltd.
40008-40008
Beilite Indonesia Contacts:
+6282321982255